
There are some keyboard shortcuts for taking screenshots on Mac that most of the users are not aware of. Today we will discuss some such shortcuts.
1. Press to take a full screen screenshot Command (3) + Shift + 3
2. Screen To take a screenshot of some of it
- Press Command (3) + Shift + 4
- Then you will see that your mouse cursor will be like a crosshair point. Now move the cursor to the part of the picture you want to take.
- Click the mouse and drag it to the desired place, select and release.
3. Adjust the screenshot
- You can move the screenshot by holding down the space bar.
- The size of the crosshair point can be changed to either side by holding down the Shift key.
- The screenshot can be reduced or increased equally by holding the option key.
- Pressing the escape key will stop taking screenshots and the crosshair pointer will disappear.
4. Take a screenshot of the window
- First Command (3) + Shift + 4 Press .
- Now press the space-key. You will see that the crosshair pointer will take the shape of a camera pointer.
- Now click on the camera pointer where you want to take a screenshot.
Bonus
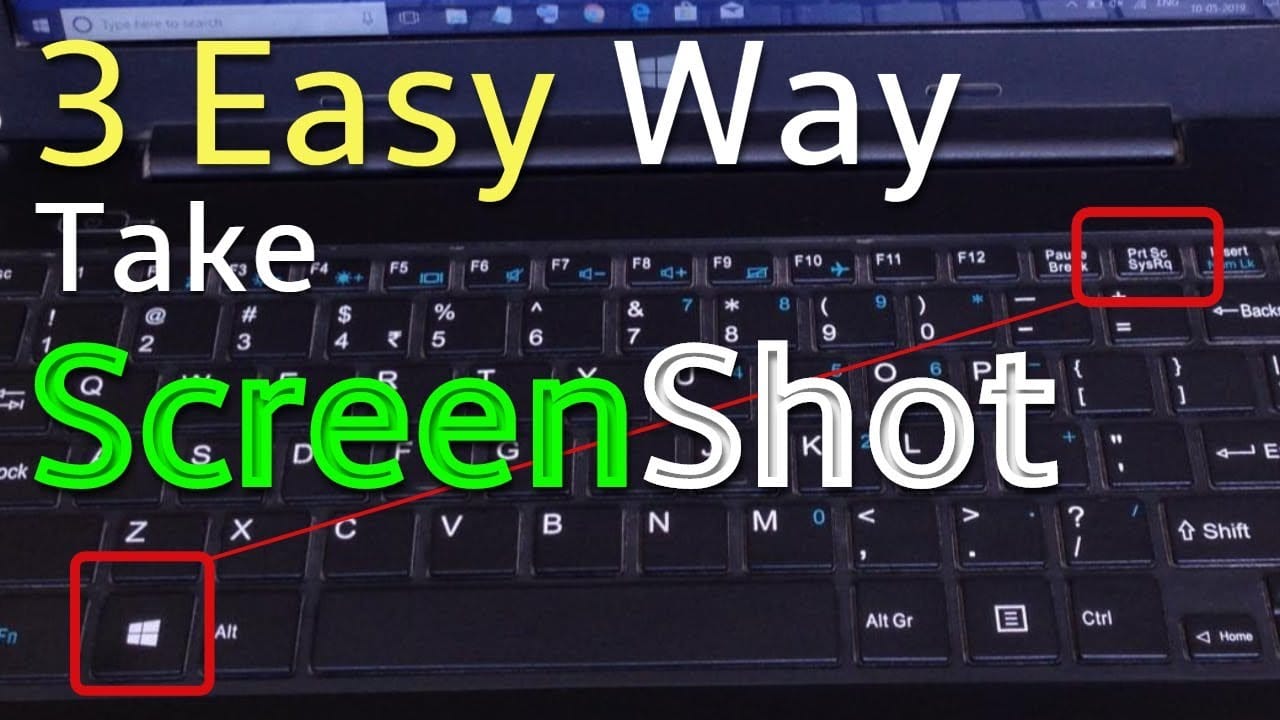
If you want to take a screenshot on a Windows computer, press the PrtScSysRq button on the keyboard. Then click on the Start menu and then click on Accessories from All-Programs. From there, click on Paint Program. When the paint is open, press Ctrl + V. Your screenshot will be pasted here. If you want, you can save a picture (part) of a specific place from the paint using the crop option (top left).
Finally save the screenshot by pressing Ctrl + S.
[★★] Want to write about technology? Now one Technician Open an account and post about science and technology! fulcrumy.com Create a new account by visiting. Become a great technician!